Are your commercial floors dull worn or marked by daily traffic? Floor stripping and waxing is essential to protect your surfaces improve your company’s image and extend the life of your floors.
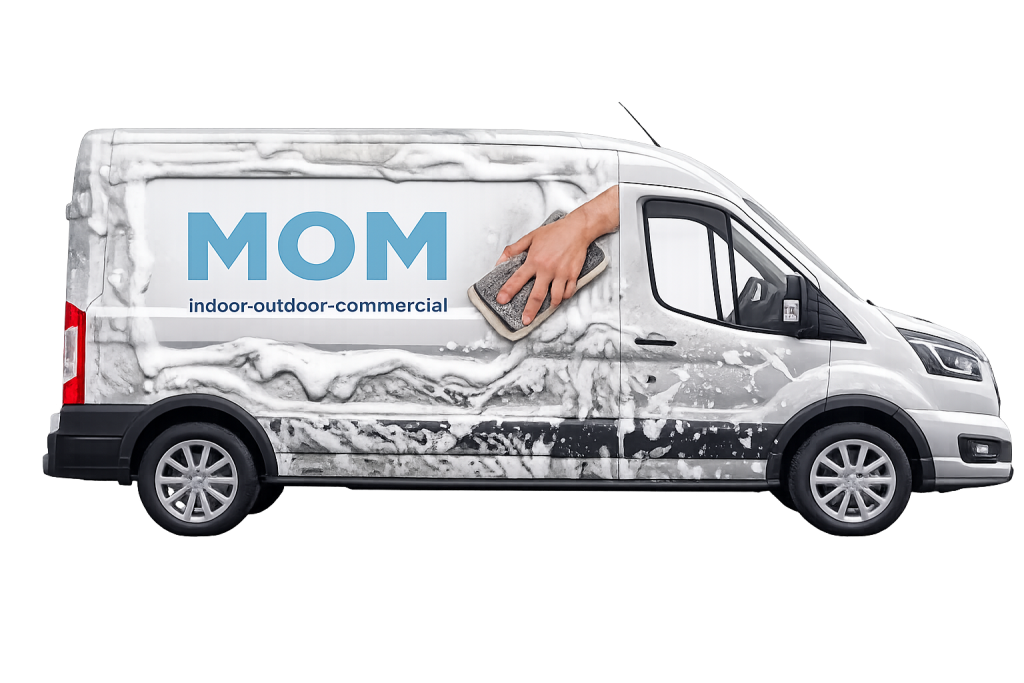
At MOM Cleaning we offer professional commercial floor stripping and waxing services in Montreal, on the North Shore, on the South Shore and in Quebec City.
Why is stripping and waxing essential for your commercial floors?
Commercial floors are exposed to constant traffic. Without specialized maintenance they wear out prematurely.Extend the lifespan of your flooring:helps avoid costly replacement.Enhance your professional image:clean shiny floors strengthen your company’s credibility.Reduce long term costs:regular maintenance costs far less than a full floor replacement.Improve safety:a uniform finish reduces risks caused by uneven wear.
Our professional stripping and waxing process
We follow a structured efficient and safe process.
Inspection and floor assessment. Analysis of the flooring type and its condition.
Complete removal of worn layers. Removal of old wax layers and accumulated residue.
Application of high durability sealer and wax. Commercial grade products suited for high traffic environments.
Polishing and long lasting finish. A smooth glossy and uniform finish built to withstand daily wear.
Types of floors we service
We work on VCT tiles vinyl flooring linoleum and high traffic commercial surfaces. Our methods are adapted to each type of flooring.
Why choose MOM Cleaning for your commercial floor stripping and waxing
Choosing the right partner makes all the difference.
At MOM Cleaning we focus on reliability consistency and professionalism.
Strict safety protocols
A trained and insured team
Fast and structured service
A clear and detailed quote
Commercial floor stripping and waxing service
Our technicians are trained to work efficiently while following strict protocols.
We use professional equipment designed for commercial buildings. Safety is a priority for both our team and your employees and clients.
Our approach minimizes disruptions to your operations. We schedule work based on your availability including outside business hours when needed.
We serve businesses across several regions:
Montreal and Greater Montreal,Laval, North Shore and South Shore, Quebec City and surrounding areas
Yes. We use professional products and secure the areas during the service.
Manage cookie consent
To provide the best experiences, we use technologies like cookies to store and/or access device information. Consenting to these technologies will allow us to process data such as browsing behavior or unique IDs on this site. Not consenting or withdrawing consent, may adversely affect certain features and functions.
Some cookies ensure that certain parts of the website work properly and that your user preferences remain known. By placing functional cookies, we make it easier for you to visit our website. This way, you do not need to repeatedly enter the same information when visiting our website.
Preferences
Storage or technical access is necessary for the legitimate interest of storing preferences that are not explicitly requested by the subscriber or user.
Statistiques
The technical storage or access that is used exclusively for statistical purposes.Le stockage ou l’accès technique qui est utilisé exclusivement dans des finalités statistiques anonymes. En l’absence d’une assignation à comparaître, d’une conformité volontaire de la part de votre fournisseur d’accès à internet ou d’enregistrements supplémentaires provenant d’une tierce partie, les informations stockées ou extraites à cette seule fin ne peuvent généralement pas être utilisées pour vous identifier.
Marketing
Storage or technical access is necessary for creating user profiles to send advertisements, or to track the user on a website or across multiple websites with similar marketing purposes.